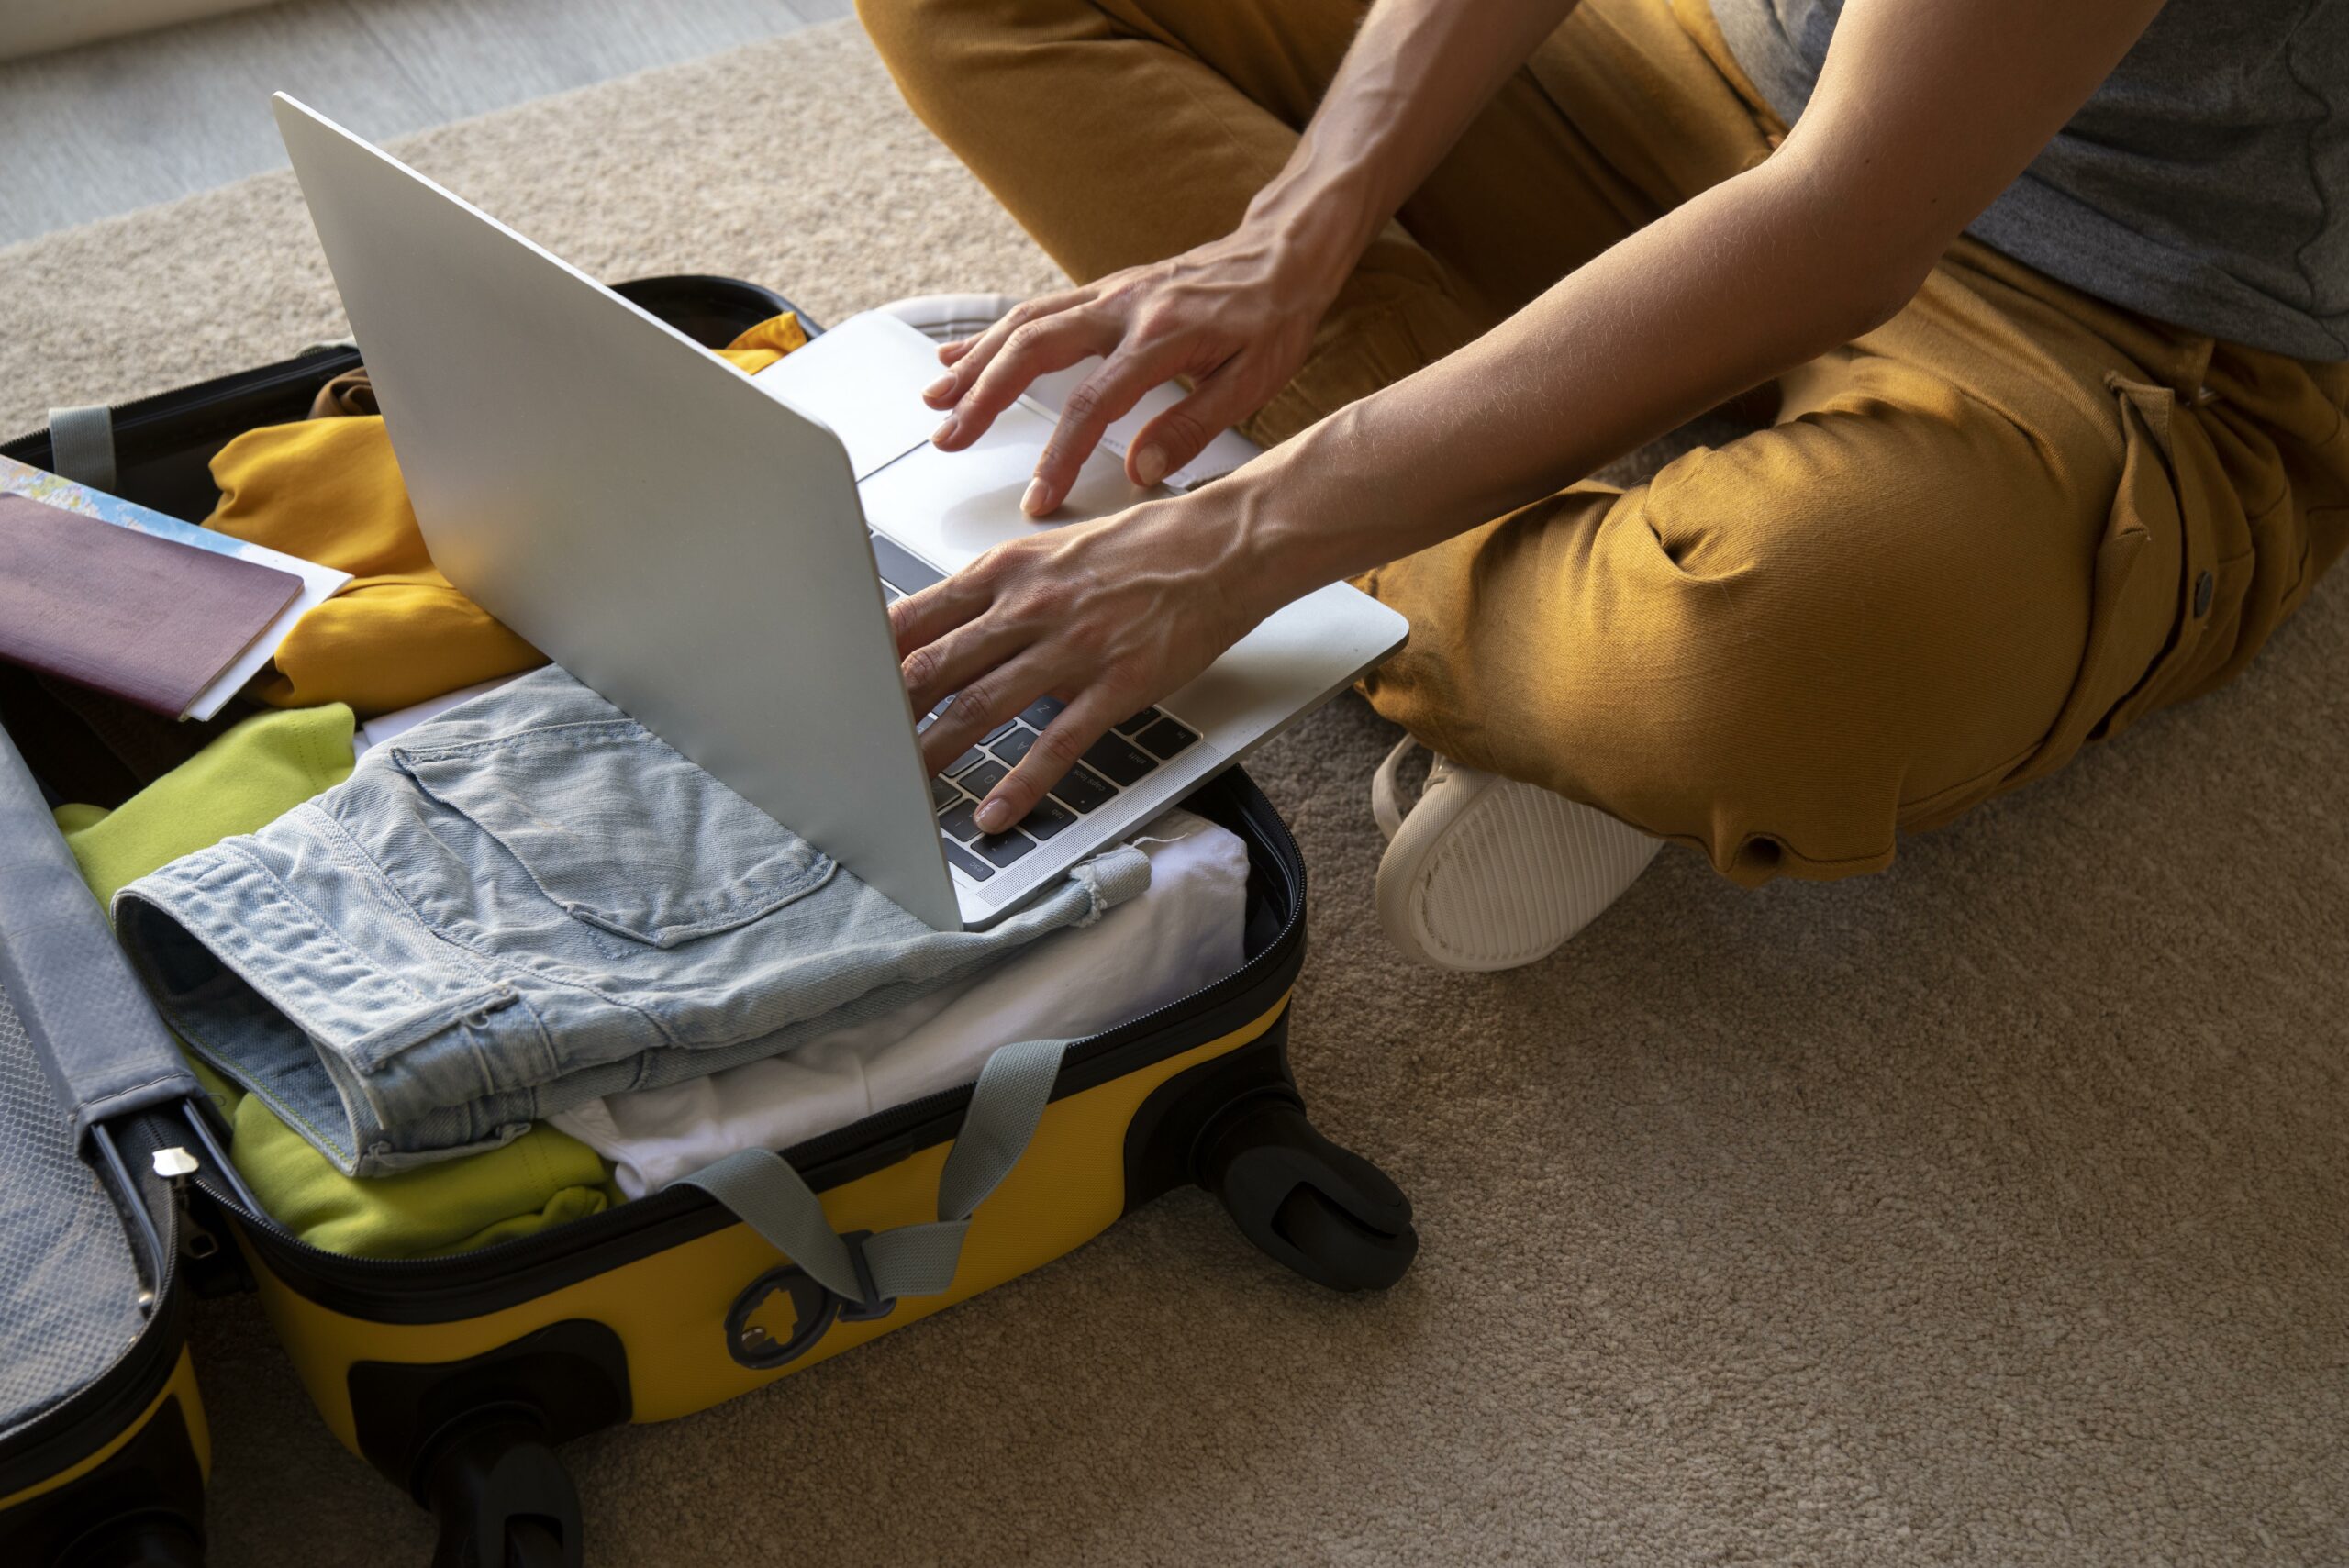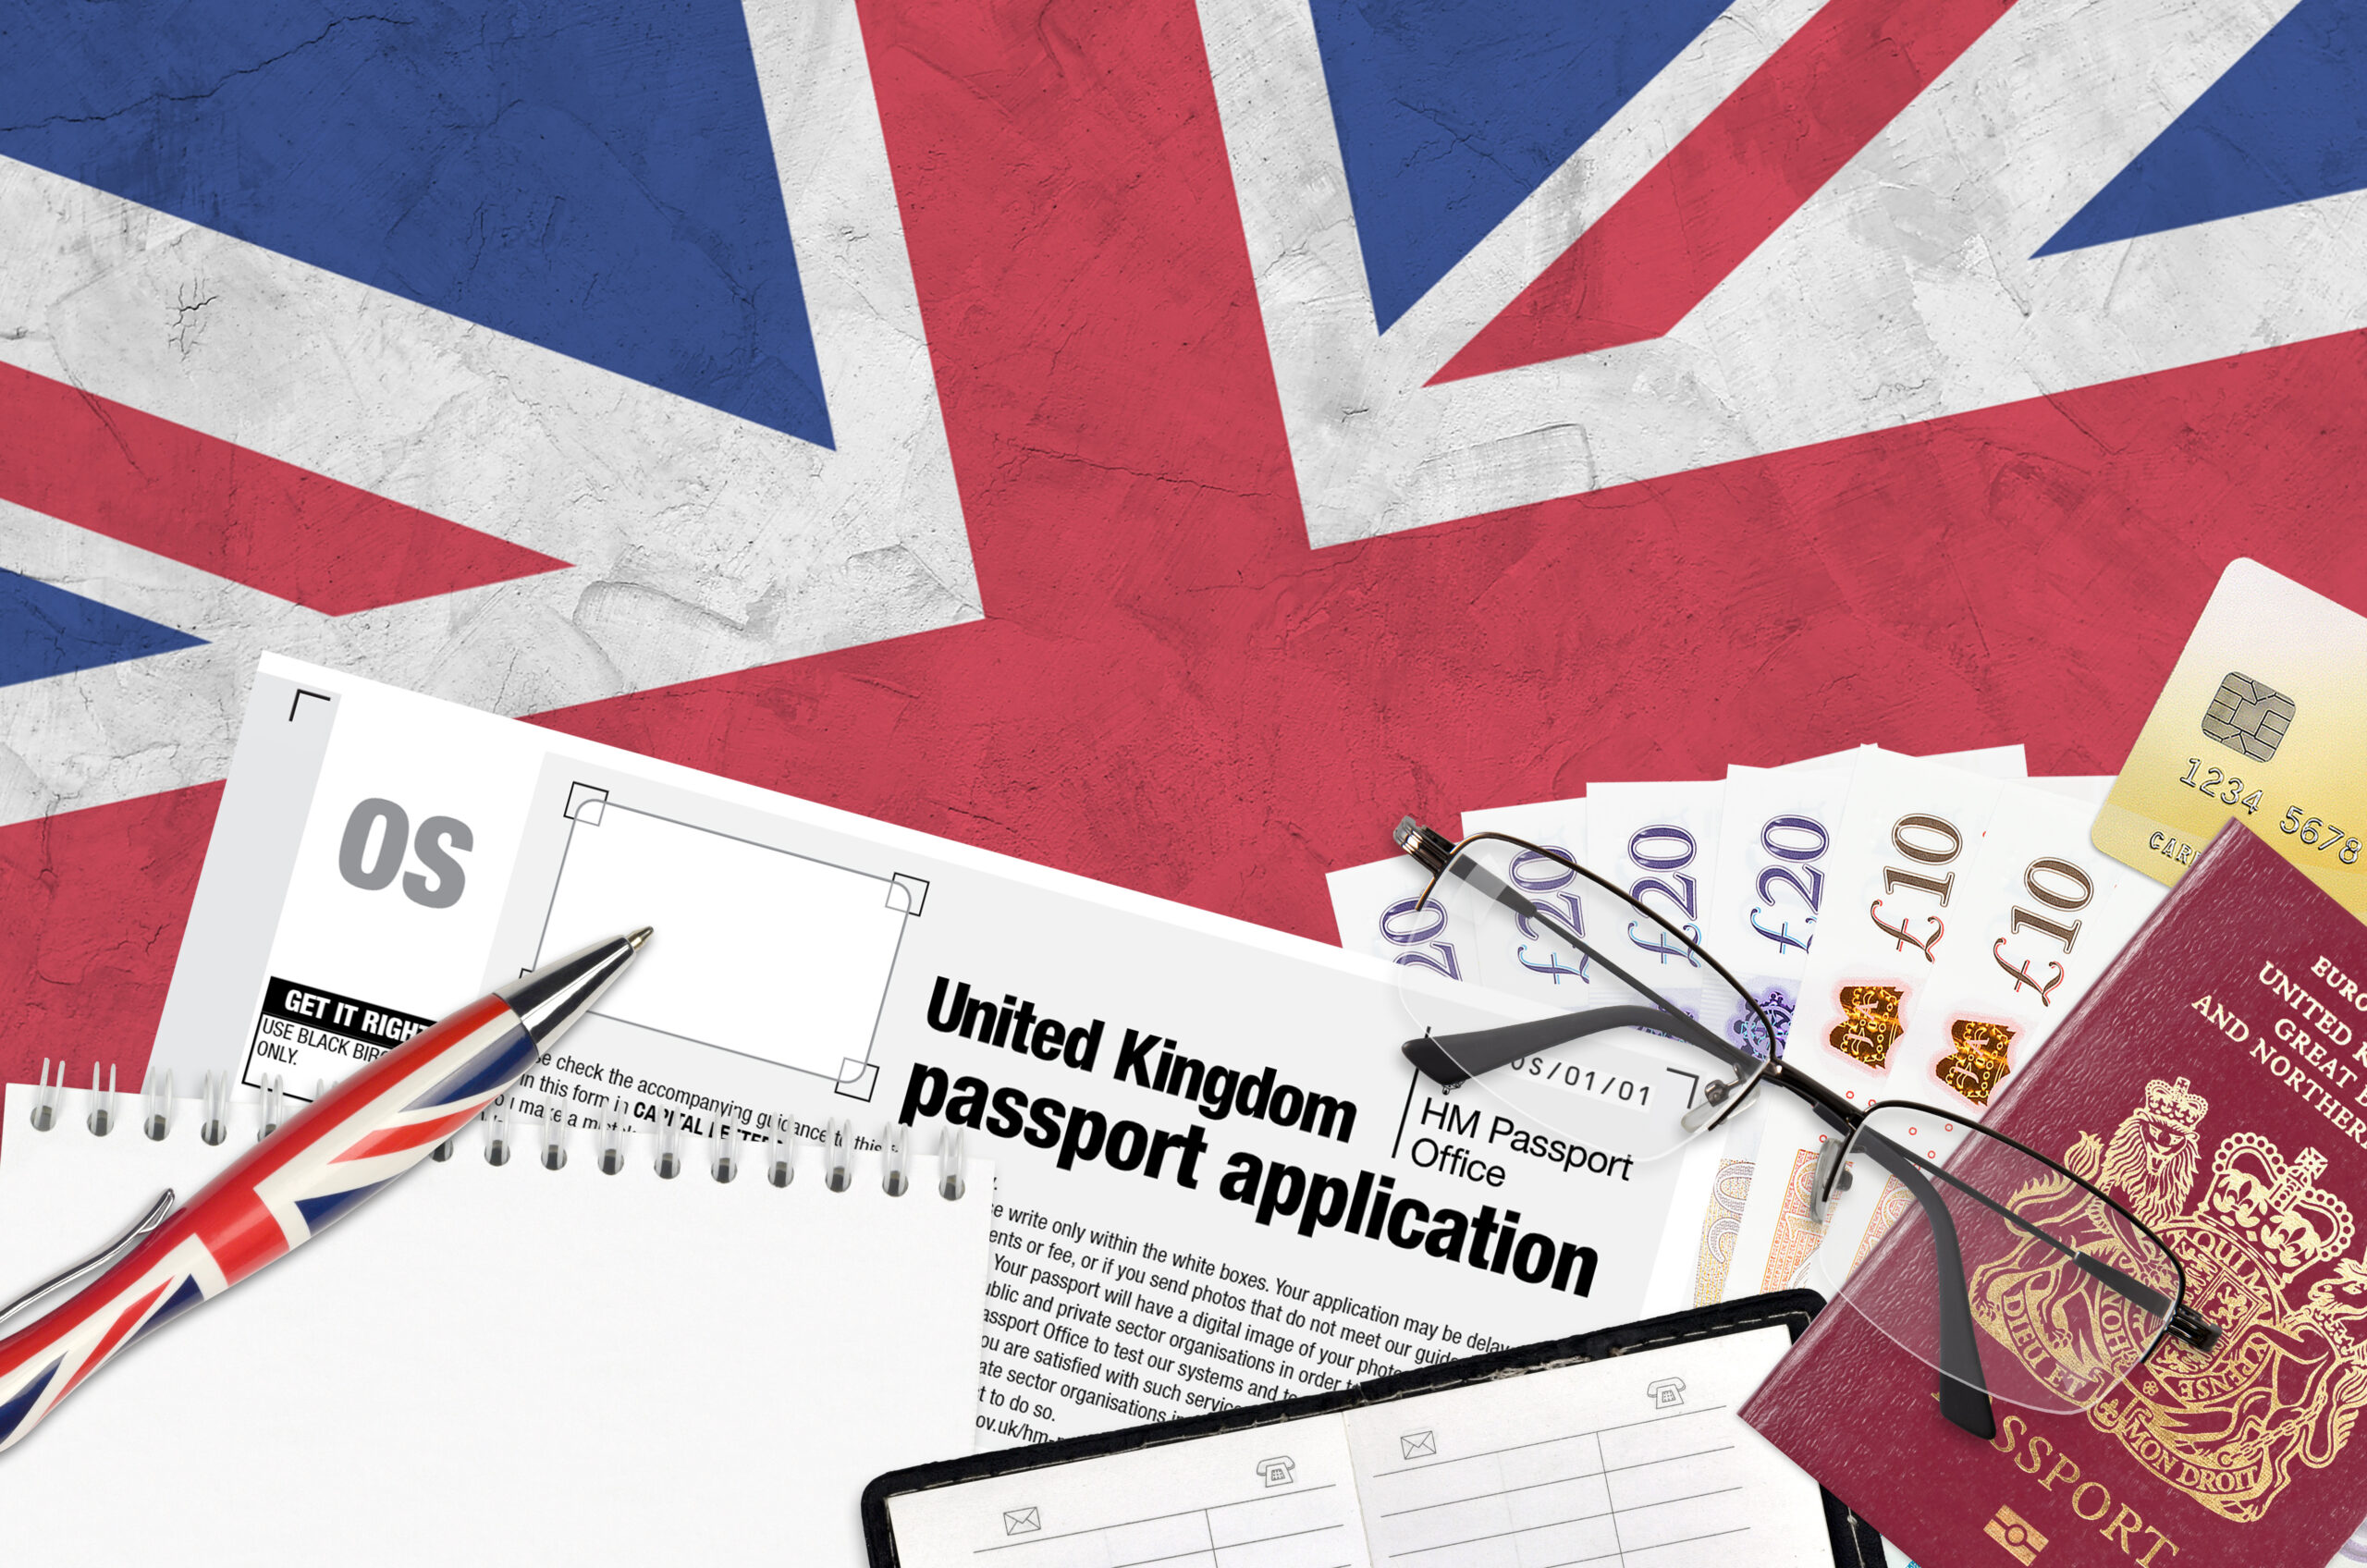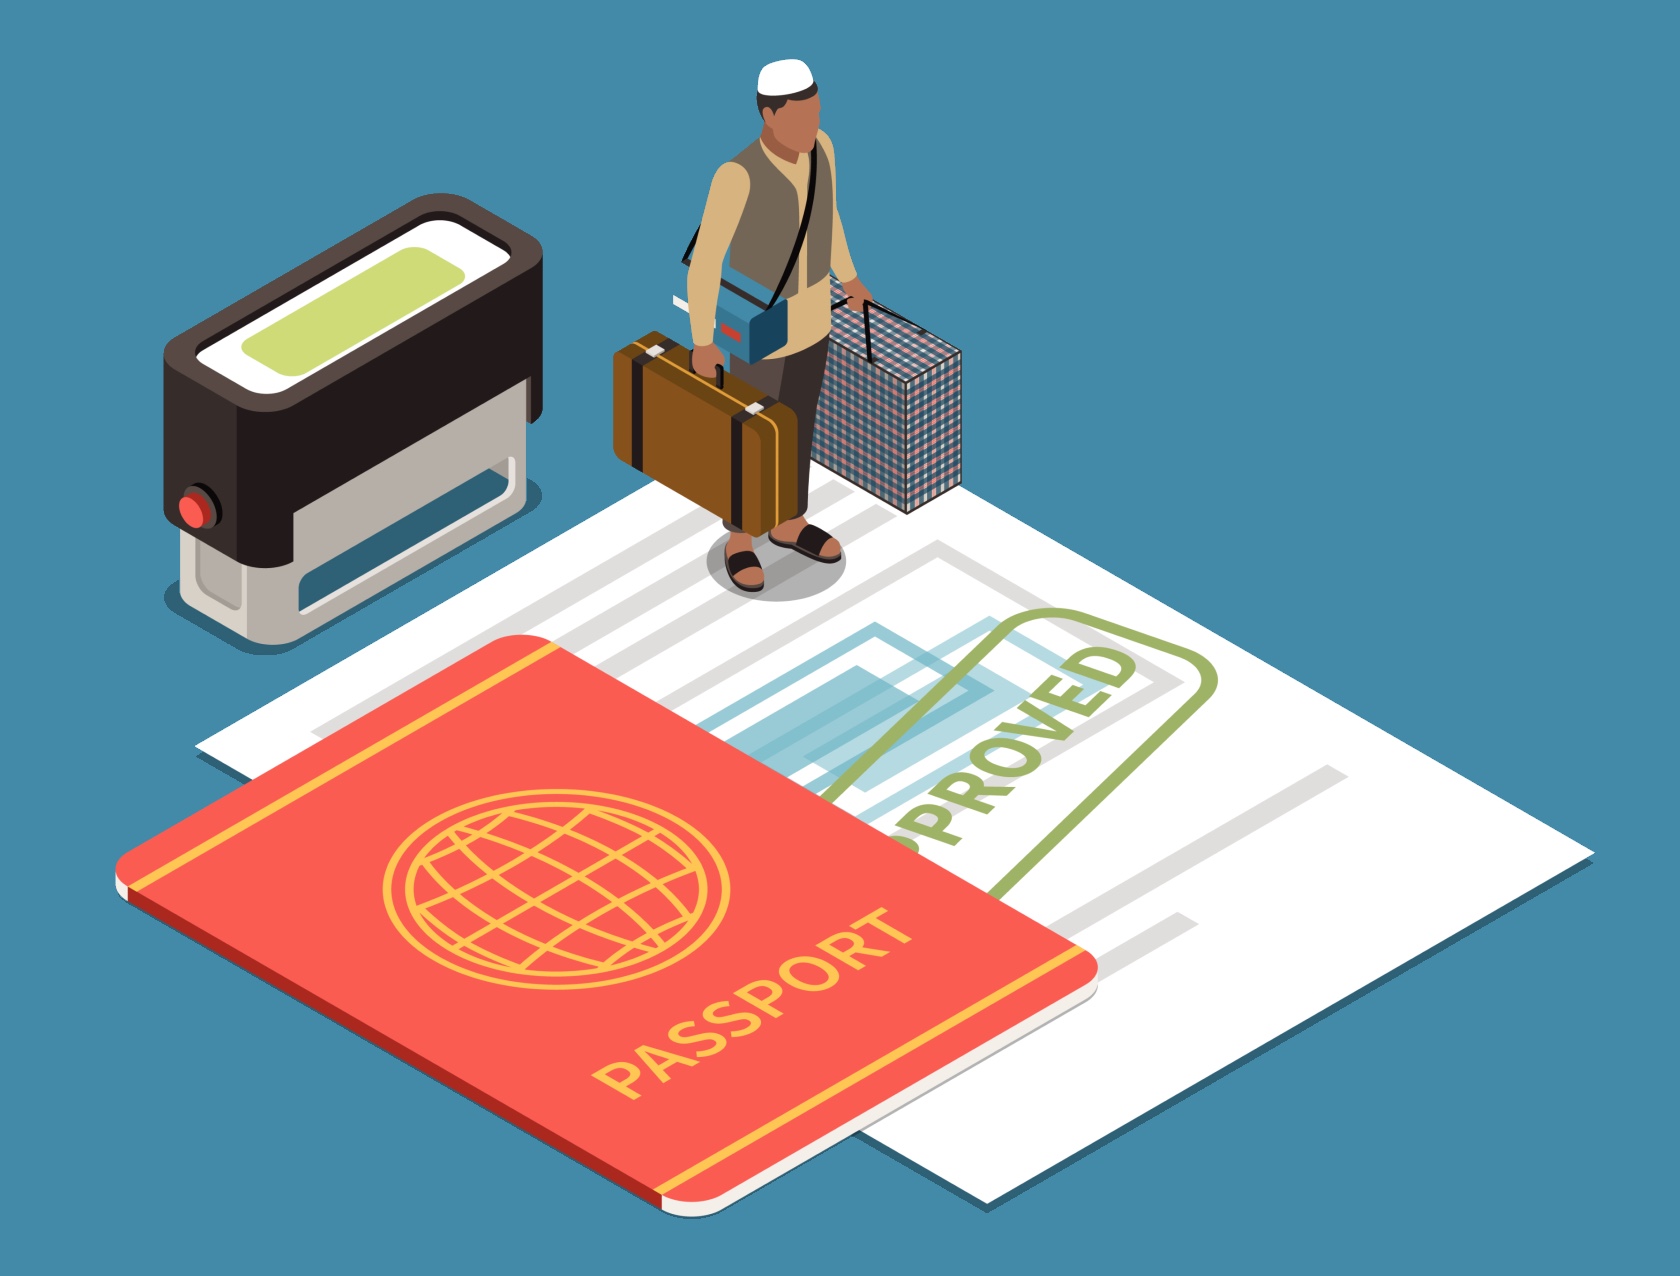
The UK Home Office is phasing out physical Biometric Residence Permits (BRPs) and replacing them with a new eVisa system. If you currently hold a BRP, it’s essential to register for an eVisa before your BRP expires at the end of 2024.
This guide will walk you through the process of setting up your eVisa and ensuring a smooth transition to the new digital system.
Step 1: Set Up Your Online Account
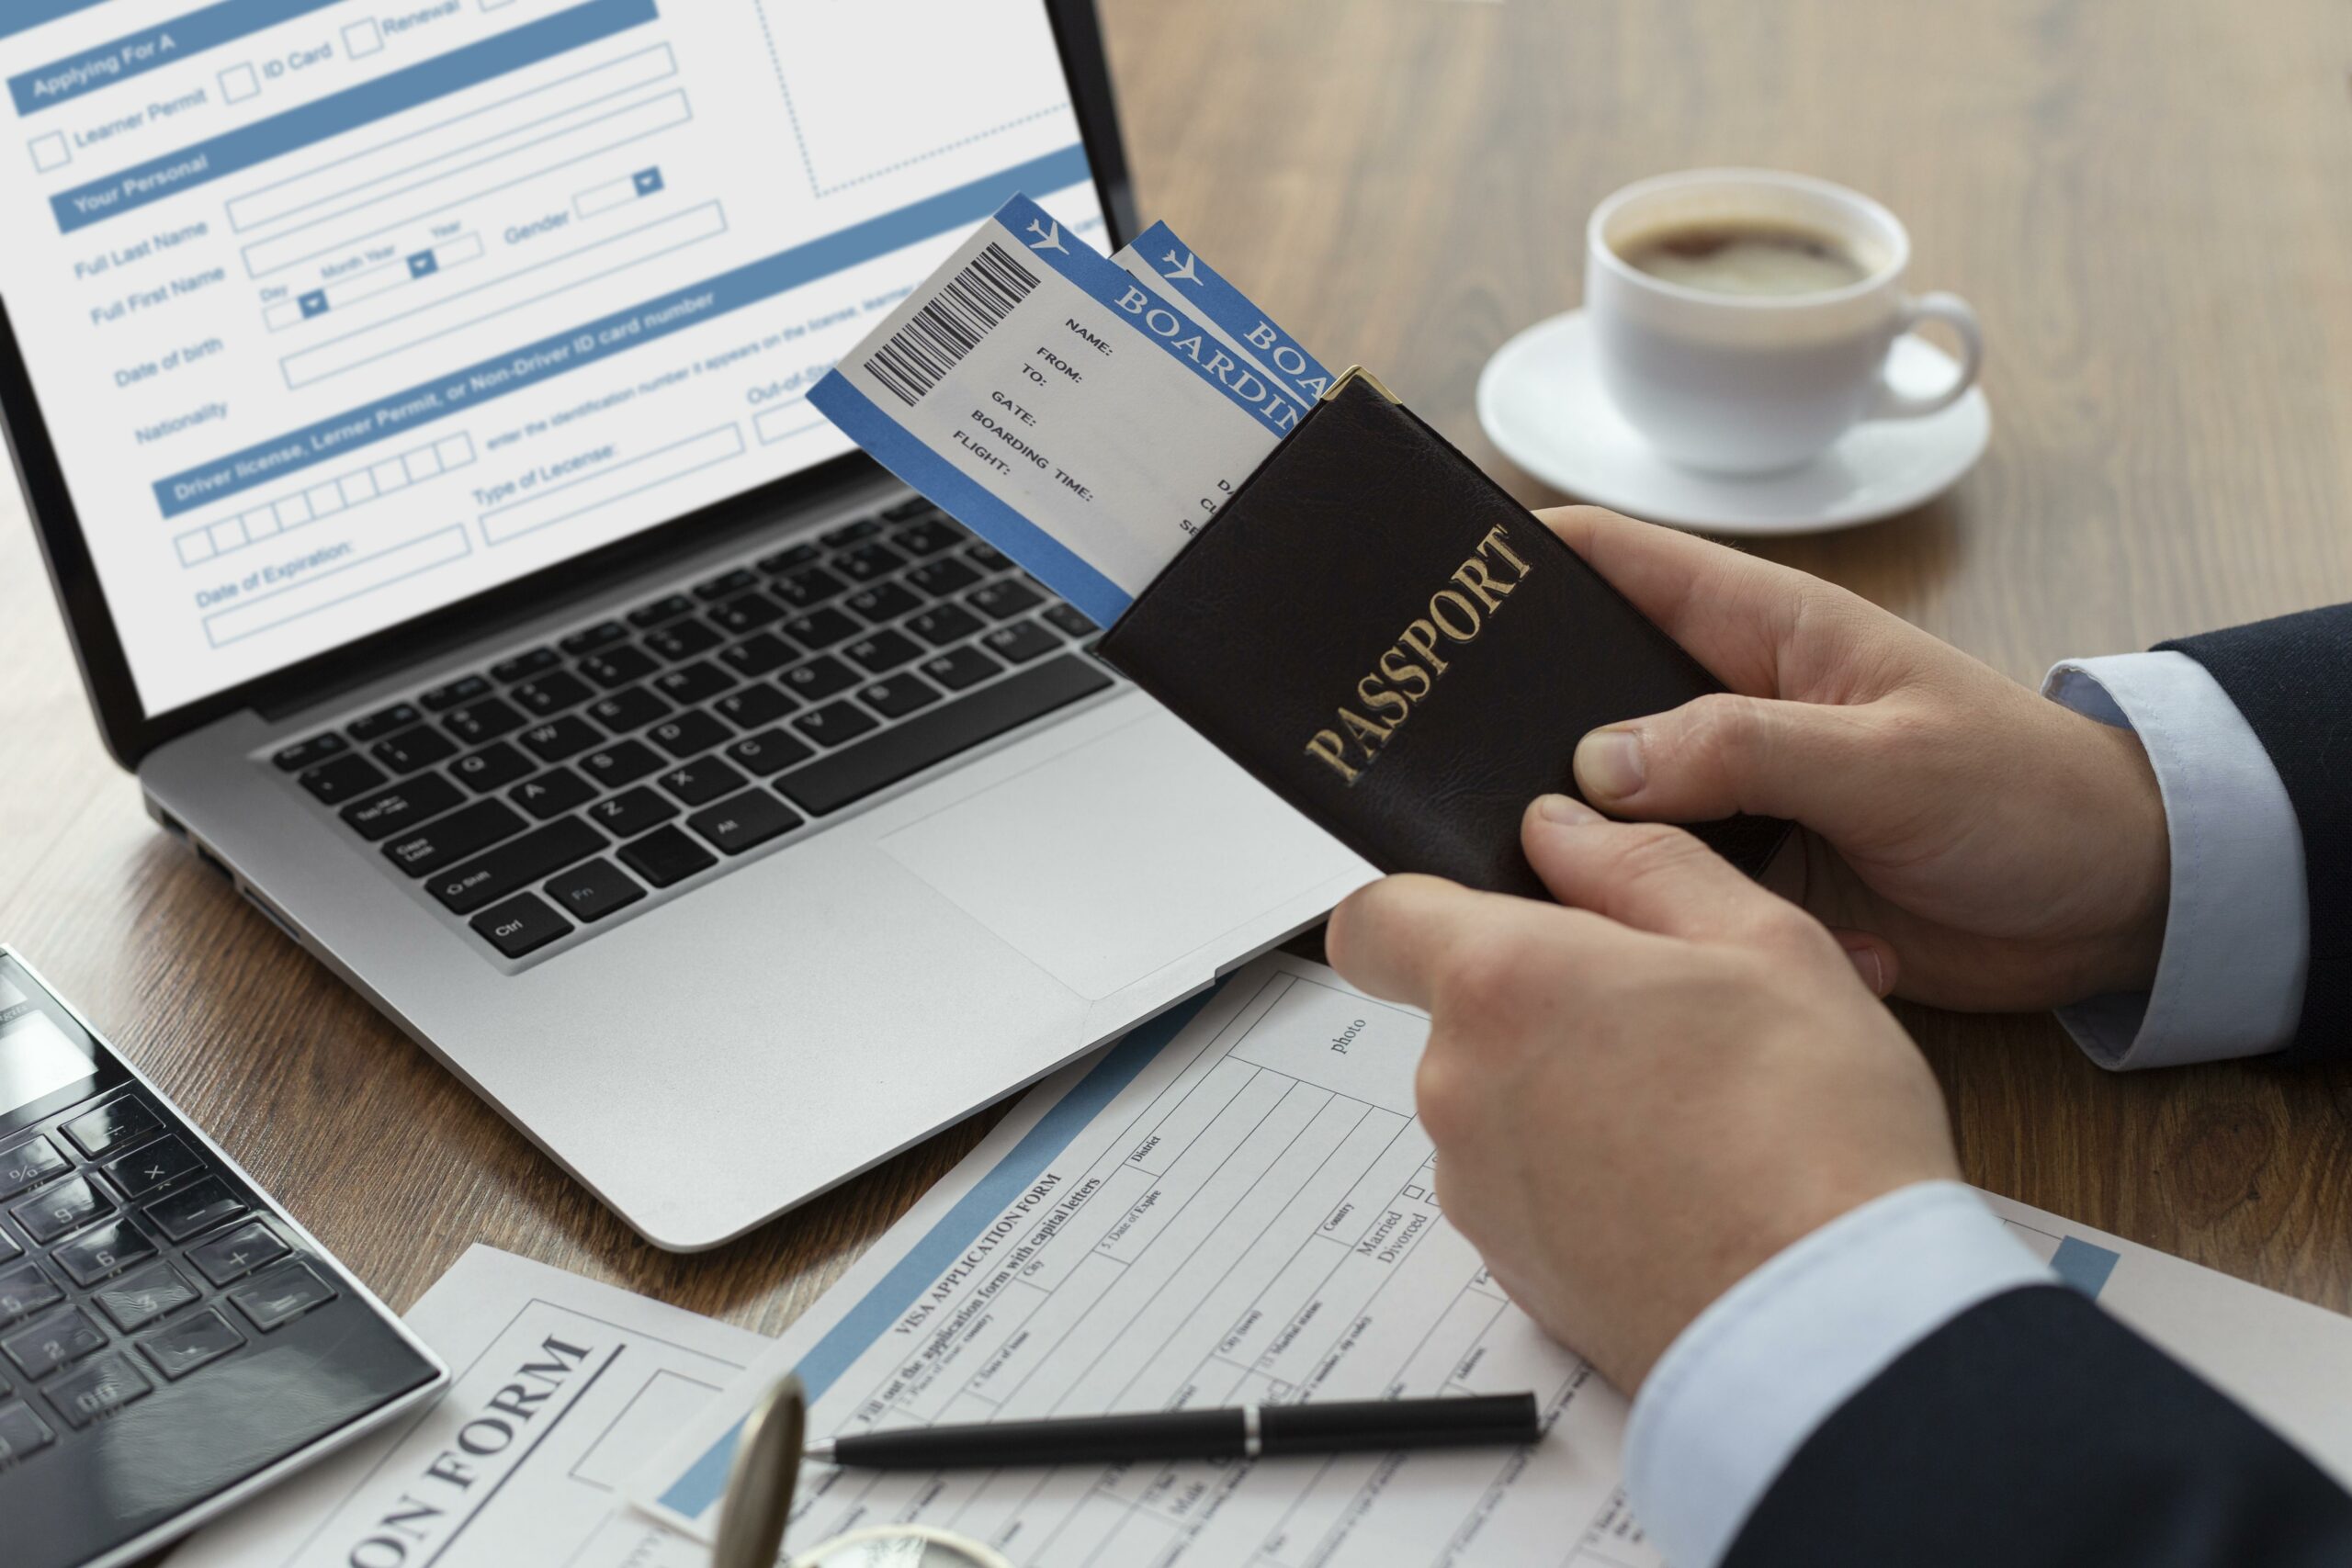
To begin the process, you need to set up an online account with the UK government. Follow these steps:
- Visit the eVisa registration page: Go to https://www.gov.uk/get-access-evisa
- Register your account: You’ll need to create an account using your email address and mobile phone number. Ensure that you have access to both, as you will need them to complete the registration process.
Step 2: Download the ‘UK Immigration: ID Check’ App
After setting up your online account, you’ll be prompted to download the ‘UK Immigration: ID Check’ app on your smartphone. This app is essential for verifying your identity and linking your BRP to your eVisa.
- Download the app: Available on both Android and iOS platforms, the app can be found in the Google Play Store or Apple App Store
- Link the app to your online account: Once the app is installed, you’ll be asked to either generate a code or scan a QR code from your online account to link the two.
Step 3: Verify Your Identity Using the App
With the app linked to your account, you will need to complete the identity verification process:
- Capture images of your BRP: The app will guide you through taking pictures of both sides of your physical BRP.
- Take a selfie: You will also be asked to take a clear picture of yourself within the app.
- NFC scan: Place your phone on your BRP so the app can read the embedded chip using your phone’s NFC reader.
Step 4: Wait for Home Office Verification
Once you have completed the identity verification steps, the Home Office will review your submission. This process involves verifying the details you’ve provided and matching them to your existing records.
- Receive confirmation: You will receive an email from the Home Office once your eVisa account has been successfully verified.
Step 5: Access and Manage Your eVisa
After your account is verified, you will have access to your eVisa online. This digital visa will serve as your official immigration status in the UK. You can:
- View your eVisa: Check your immigration status online at any time.
- Update your details: If your contact information changes, make sure to update it in your eVisa account to avoid any issues with your status.
If your travel abroad – Log in and check contact details and passport details are correct and up to date before you travel.
Additional Resources and Support
For more information about the eVisa process, including helpful instructional videos, visit the UK government’s online immigration status eVisa guidance page: https://www.gov.uk/guidance/online-immigration-status-evisa.
Adopting the UK’s new eVisa system is a crucial step for all BRP holders before the end of 2024. By following this guide, you can ensure that your eVisa is set up correctly and that your immigration status remains up to date. If you encounter any issues or have questions about the process, IHRC Legal is here to assist you. Don’t hesitate to contact us for personalised support.
This information was correct at the date of publishing.